

Outdoor Home Saunas: Design Ideas for Backyard & Patio
Outdoor Home Saunas: Design Ideas for Backyard & Patio

Initiating the installation of a sauna requires careful consideration and meticulous planning to guarantee both safety and functionality. From choosing the appropriate type of sauna that meets your personal or professional needs to understanding the intricacies of site preparation and electrical configurations, each step bears its own set of challenges and requirements.
Additionally, the longevity and performance of your sauna are heavily dependent on how well you manage its maintenance post-installation. Join us as we navigate the key phases of setting up your sauna, and uncover some common pitfalls that could potentially undermine the efficacy of your new wellness investment.
Selecting the appropriate sauna for your home or business is an indispensable decision that involves various factors to take into account.
When considering sauna installation in Nashville, it’s vital to determine the right type of sauna that fits your needs. Whether you opt for a steam sauna installation or a custom-built sauna, each has its unique benefits.
Steam saunas, for example, are renowned for their hydrating effects on the skin and respiratory benefits. Alternatively, a custom-built sauna allows for tailored features that can enhance your specific relaxation and health goals.
Partnering with a specialized provider like TN Sauna Installation guarantees that every aspect of your choice is professionally addressed, assuring a seamless integration into your space.
Once you have chosen the ideal sauna type, preparing the installation site becomes the next important step. For installing a sauna, you need a stable, level surface, which is critical whether you are setting up a freestanding structure like a barrel sauna or integrating a built-in sauna into your home.
During site preparation, clear the area of any debris and guarantee the ground is firm and capable of supporting the weight of the sauna, especially once it is fully operational.
For a barrel sauna installation, consider the orientation; it should face away from prevailing winds to enhance heat retention. Additionally, sauna bench installation requires precise leveling to guarantee safety and comfort.
Confirm all measurements are double-checked before proceeding with the build.
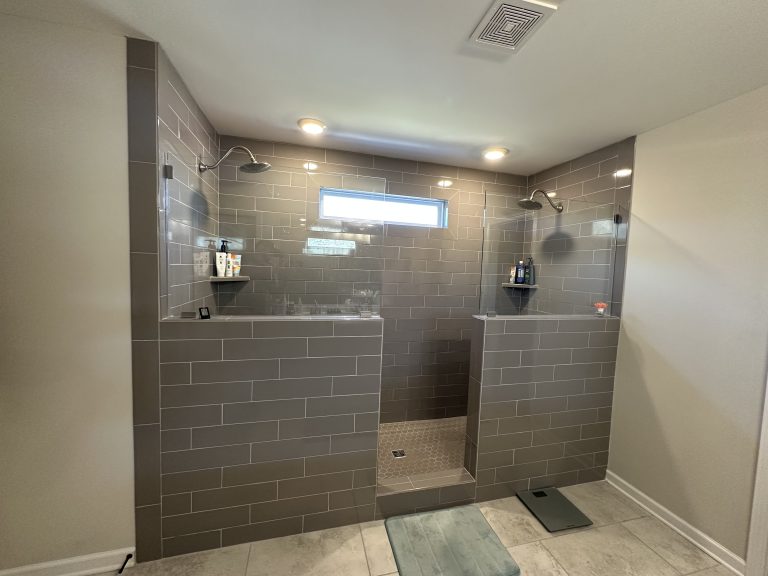
Understanding the electrical requirements for your sauna installation is vital to guarantee safety and functionality. Most home saunas require a dedicated 220-240 volt circuit to handle the high power demand without tripping your home’s circuit breaker. This is similar to circuits used for major appliances like ovens or dryers.
It’s important to verify that your electrical panel has enough capacity to support this additional load. Furthermore, proper grounding and adherence to local electrical codes cannot be overlooked.
Hiring a professional electrician, who is familiar with the specific codes and standards in Nashville, can help prevent any hazardous situations. They will confirm that all connections are secure and that your sauna’s electrical system is up to the required safety standards.
Beginning the installation process of your sauna requires careful planning and precision.
First, verify the chosen location supports the weight and dimension of your sauna and is near necessary electrical sources as discussed in previous sections.
Gather all tools and materials outlined in your installation kit from TN Sauna Installation. This typically includes panels, benches, heaters, and hardware.
Follow the detailed instructions, starting with the assembly of the floor base, walls, and then the ceiling panels.
It’s vital to connect the heater correctly—adhere strictly to the manufacturer’s guidelines to avoid any electrical issues.
Once the structure is assembled, check all seals and joints for any potential leaks or gaps, confirming they are tight and well-insulated.
After successfully assembling your sauna, focusing on proper care and maintenance will guarantee its longevity and peak performance.
Regular upkeep not only enhances your sauna’s functionality but also guarantees safety during its use. Here are three essential tips to maintain your sauna effectively:
Outdoor Home Saunas: Design Ideas for Backyard & Patio

Portable Infrared Sauna: Pros, Cons, and Top Models
How to Install a Smart (Wi-Fi Enabled) Sauna at Home

Sauna Builders in Nashville: What Sets the Pros Apart
©2026. TN Sauna Installation. All Rights Reserved.